
 Far too often builders and framers say “it’s just wall sheathing” and don’t pay enough attention to how sheathing is installed. Slapping it up and saying “good enough” can lead to some very expensive repairs that can damage a builder’s reputation. More often than not, it is improper nailing of the sheathing that causes problems such as wavy siding.
It goes without saying that all the nails are important but there are areas where correct nailing patterns are especially critical. The most critical nails are at the corners and along edges in contact with the framing. Nails at the corners must be 3/8” from the corner; not 2” or 3” or 4” but 3/8” from the corner. They hold the corner down and keep it from lifting.
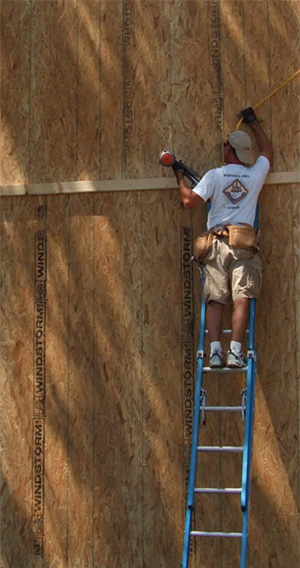
Along the edges the nails hold the sheathing tightly to the framing and must be 3/8” in from the edge – any further from the edge and they will probably miss the framing entirely and are totally useless. Using power nailing tools does make it difficult to know if the nail has missed the framing. Check for “shiners” (nails that have missed their mark) and always add nails to compensate for shiners.
The cost of taking that extra split second to ensure the nail is going where it needs to be, is nothing compared to cost of a call back repair. Nails in the proper place and spaced correctly keep the sheathing securely fastened to the framing so it can’t lift or buckle. Correctly nailed sheathing will stays flush with the framing can help reduce air leakage. Don’t forget to space the panels 1/8” apart so they can adjust to changes in moisture conditions.