Wallpaper can be a real pain to renovate, so here are some tips to make this messy task more manageable.
Take your time—wallpaper takes time to remove so set aside at least two days to do a full room. Leaving enough time will mean you don’t try to rush it and end up damaging your walls.
Keep it tidy—this is a seriously messy job! Start by removing all the furniture and taping plastic to the bottom of the walls and then lay plastic over the floor. Use towels on top to soak up the water as you prep the walls. Everything will get wet and sticky so you must protect the floor and get everything out of the room.
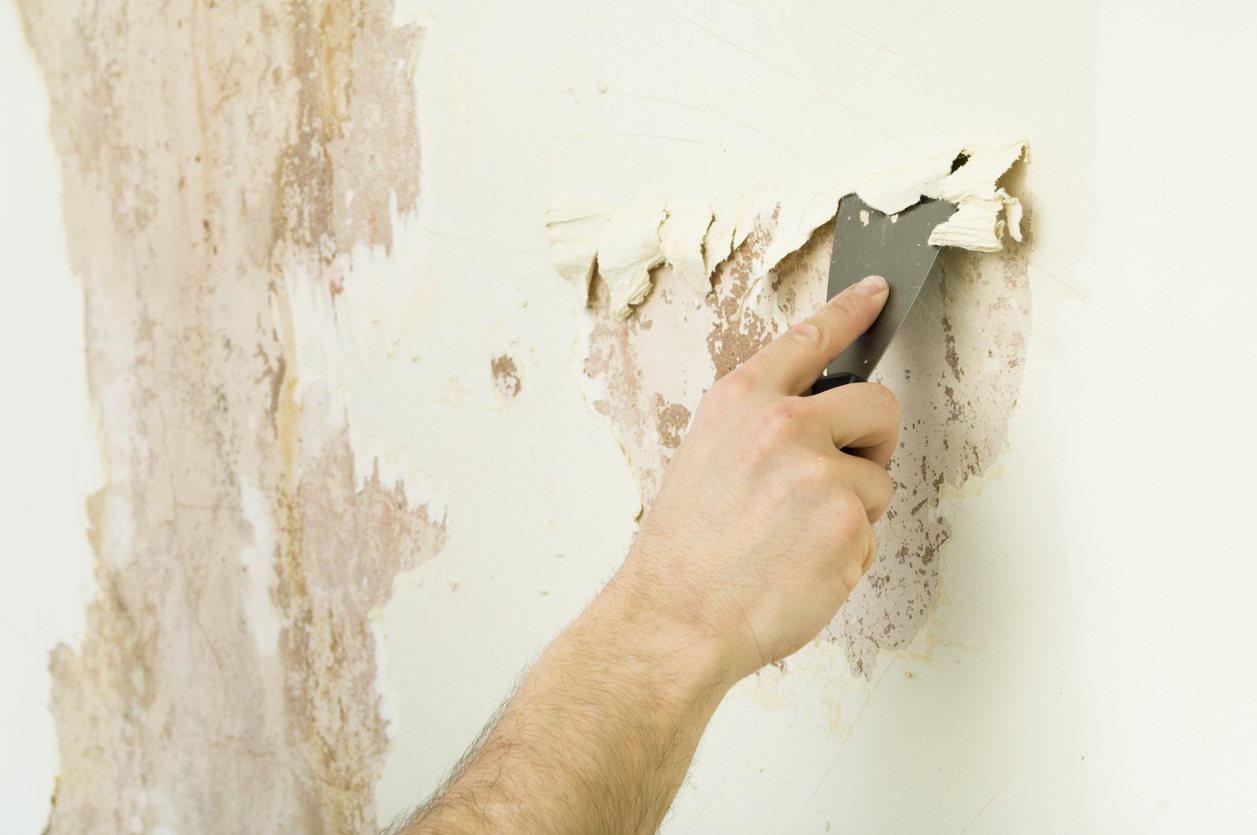
Start slowly—using a paint scraper, lift the edge of the paper near the ceiling. Apply gentle pressure and slowly peel back the upper layer of the wallpaper. Removing the top layer will improve water absorption so the glue comes away more easily. If this layer refuses to budge, use a scoring tool to make small holes through which water can be absorbed.
Soften it up—use a sponge to soak the wallpaper with the hottest water you can handle (gloves help!) A mop can help with hard-to-reach areas. Go over it at least three times so that it has a chance to get properly soaked. If you are working on dry wall, work on tiny patches at a time. Exposing dry wall to water for more than 15 minutes can cause damage.
Scrape it off—use a metal paint scarper to gently scrape off the glue and remaining paper. Work slowly and gently to avoid gouging holes in the wall. Using a paint scraper with rounded edges will help. You can also try a plastic spatula.
Spray stubborn areas—there will be some areas where the glue is thickest that won’t come off with scraping and water. Use a gel wallpaper remover which you can spray on to affected areas. Gently scrape off after 15-20 minutes.
Check it twice—be sure to remove every bit of glue. Patches that you miss will cause paint to flake off and will cause bubbles in new wallpaper.
Patch any gouges and sand the wall gently, then you’re ready for your primer or your new wallpaper.
