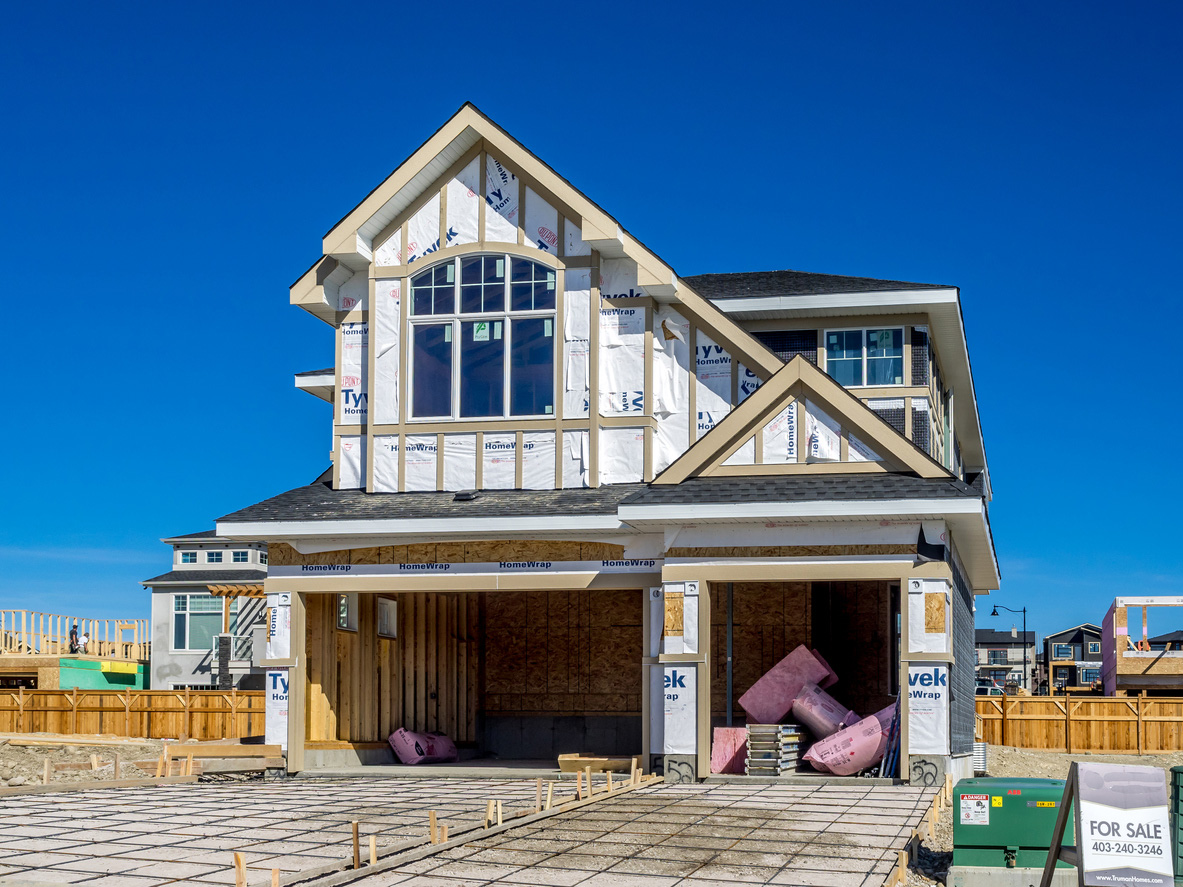
Housewrap should be an integral part of your home’s envelope—repelling water from outside and allowing water vapor from inside to escape. This only works if it’s properly installed and when it isn’t, it can cause serious damage to the home. Here are some tips on how to best install housewrap to ensure it does its job.
- Housewrap should not only be a barrier to keep water out, it can also act as an air barrier if it is sealed at every seam.
- Select the right housewrap for your climate zone. Be sure to check code requirements in your area. Read the manufacturer’s instructions for installation carefully before you start as these vary considerably.
- Wrapping should start at the foundation and extend an inch or more past the wall-to-foundation intersection. Each additional layer should be installed in the same way as you would shingles, with the upper layer overlapping the lower at least two inches on the horizontal seams. Any vertical seams should overlap by 6 inches or more.
- All seams should be taped or fastened with cap fasteners. If stapling, be sure to avoid rips. Any rips or holes must be taped to avoid air infiltration.
- Take extra care when installing housewrap around windows and doors as these are most frequently where water can get in. Be sure that proper flashing techniques are followed here to prevent water and moisture entering the home. A good resource here is Technotes.
- Siding contractors should inspect all areas and repair any rips or holes in the housewrap prior to siding installations.
