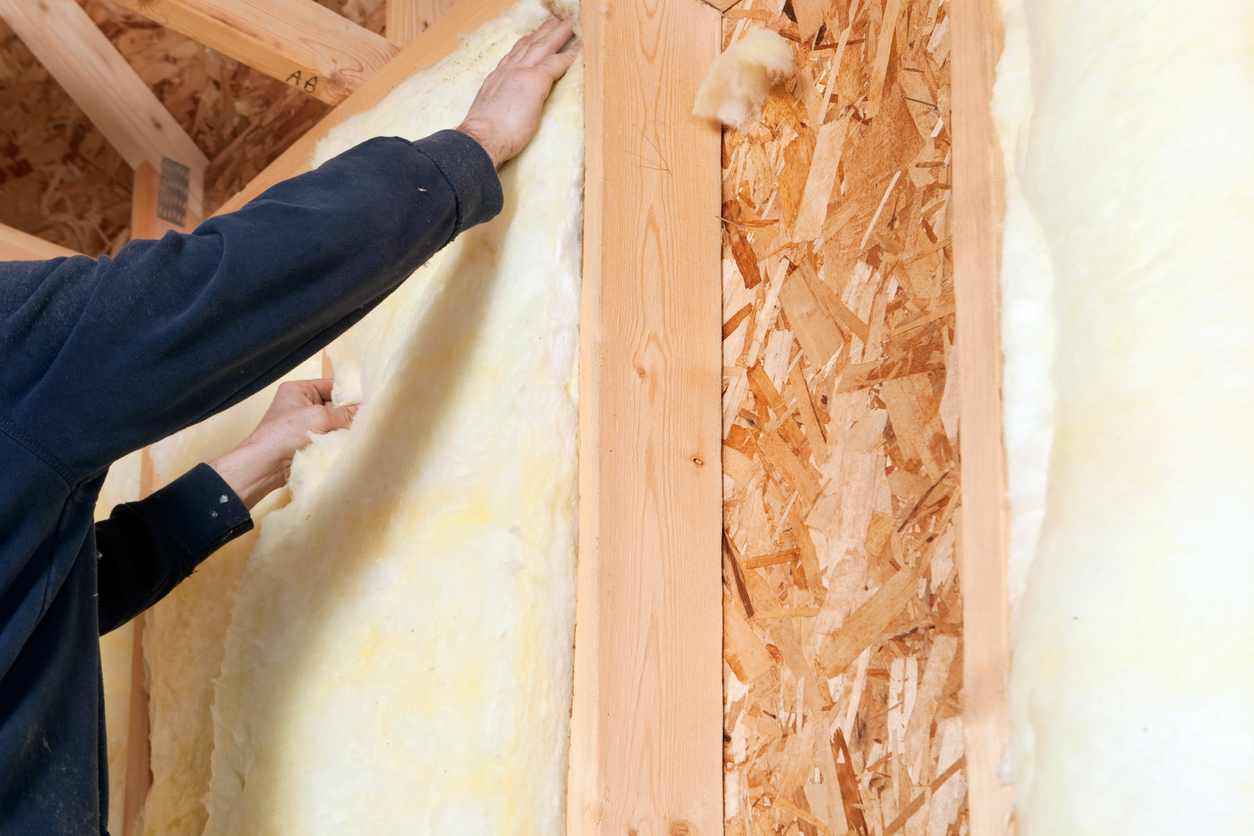
We’ve come to understand that the quality of batt insulation relies heavily on the installation. No matter how good your insulation is, the way it is installed will determine your ability to reach increasingly stringent requirements for programs such as HERS, ENERGY STAR and LEED. Here’s some things you should focus on when installing batt insulation in order to improve your home’s R-value.
Follow Manufacturer’s Instructions
Many contractors don’t read the manufacturer’s installation instructions and install all batts in the way they have always done. Familiarize yourself with the product, read the instructions and ensure you properly prepare the site and check if a vapor retarder is required. See here for more information on how to get a grade 1 certification for your installation.
Proper Stapling
When installing kraft-faced insulation, both inset stapling and face stapling work as long as you are careful not to compress the batt insulation. When you compress the insulation, you can create air pockets which will reduce the efficacy of the insulation. Check manufacturer’s guidelines for stapling patterns and avoid gaps between the flanges and framing.
Take your Time
Of course you’re under time pressure, but take the time to carefully install insulation around wiring and electrical boxes. Cut insulation batts and carefully insert under and over wires. For electrical boxes, measure and cut a piece of batt that fits snugly around the box with no gaps.
